6 Examples of Disaster Plans for BC Homeowners
Posted by Karl Lundgren on
Thinking about a major earthquake can be overwhelming, especially when you picture your family scattered in different places or trying to make quick decisions under stress. Without a clear plan, simple actions like reaching your loved ones or having enough supplies become complicated during a real emergency.
This guide gives you practical, realistic steps to make your British Columbian family safer and more confident before a disaster hits. From creating a personalized communication plan to building a home emergency kit and teaching your children the right drills, you’ll find straightforward tips you can actually use.
Get ready to discover proven strategies that will help you protect your family, connect with your neighbours, and respond effectively the moment an earthquake strikes. Every tip in this list unlocks hands-on solutions you’ll be glad to have when it matters most.
Table of Contents
- 1. Family Meeting Point And Communication Plan
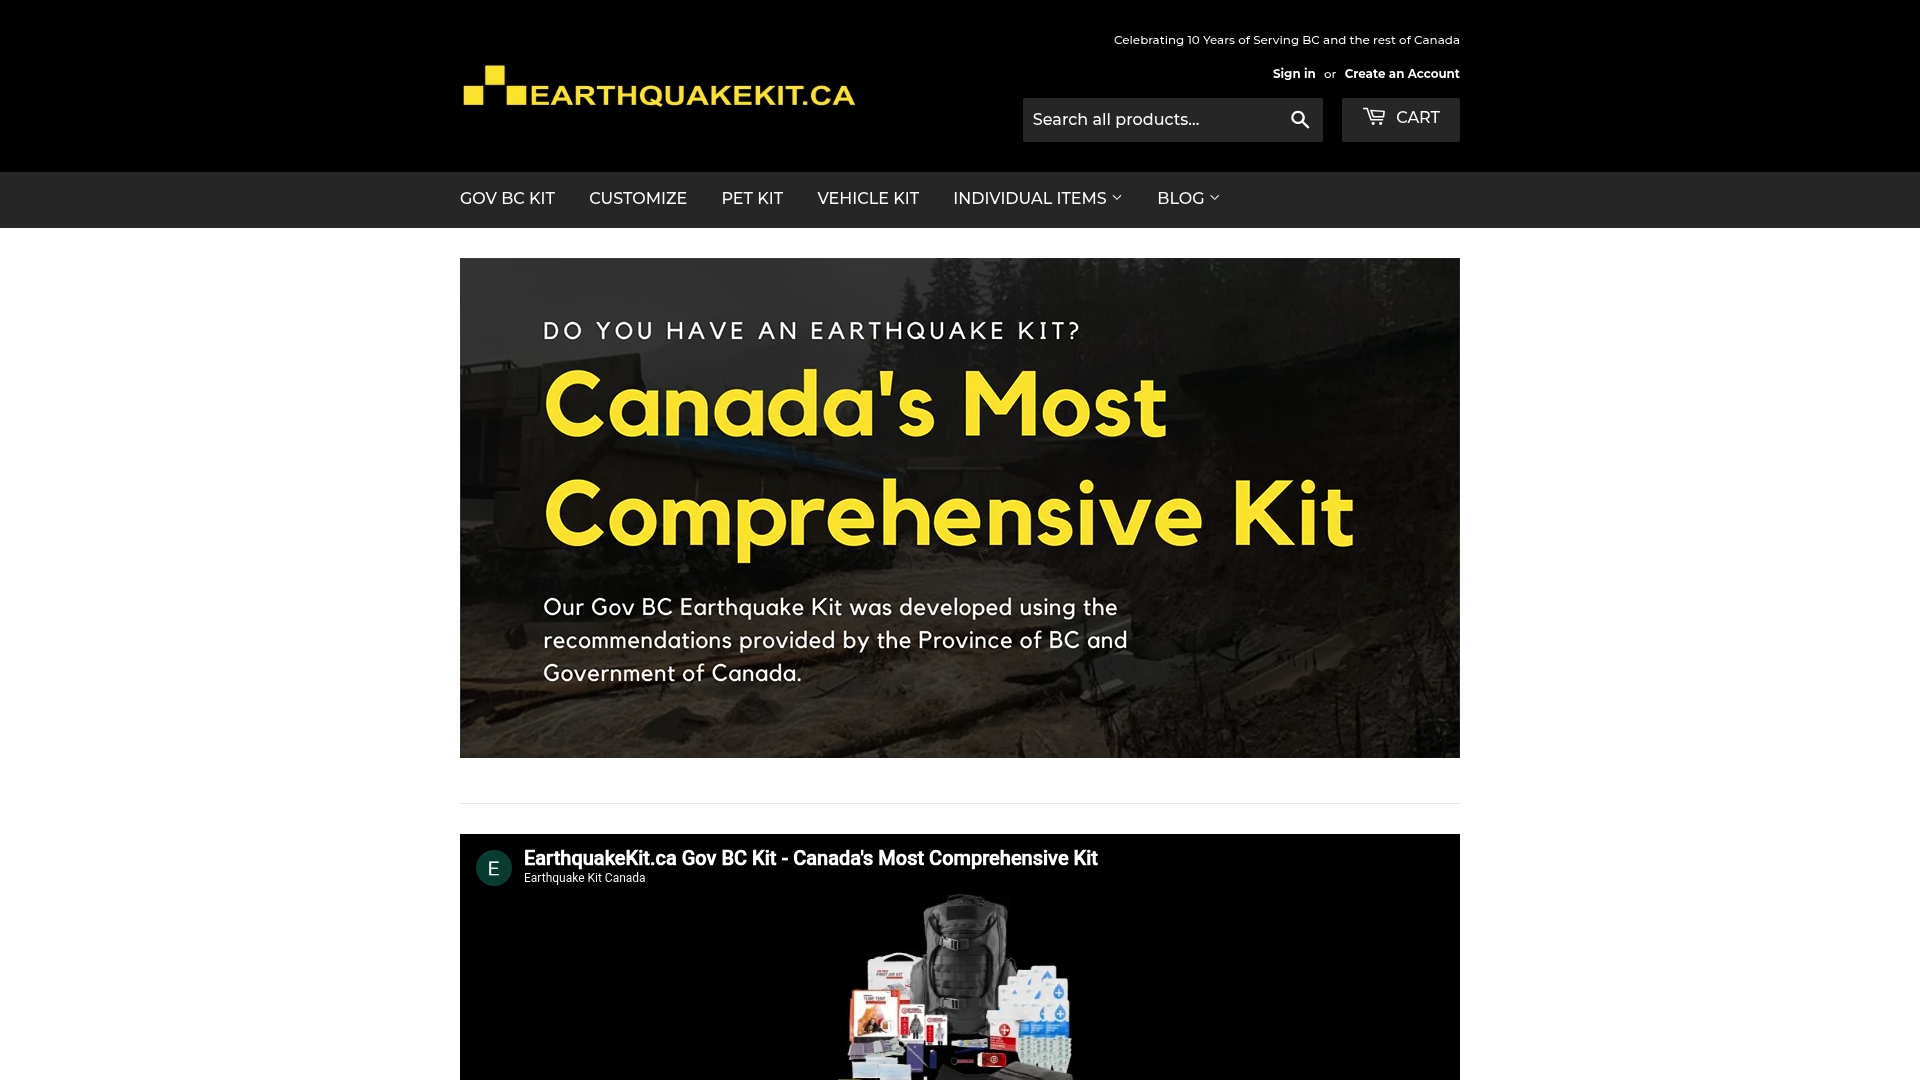
- 2. Custom Emergency Supply Kit For Home
- 3. Earthquake Drill Routine For Children
- 4. Evacuation Route Planning And Practice
- 5. Important Documents Backup Strategy
- 6. Neighbourhood Support And Resource Sharing Plan
Quick Summary
| Key Insight | Explanation |
|---|---|
| 1. Establish meeting points for emergencies | Designate a near-home and out-of-area meeting spot to ensure all family members know where to reunite after a disaster. |
| 2. Create a customised emergency supply kit | Your kit should address specific family needs, including water, food, medical supplies, and personal items for comfort and safety during a crisis. |
| 3. Conduct regular earthquake drills with children | Practising the ‘Drop, Cover, and Hold On’ method helps children know how to react instinctively during an earthquake, reducing panic and confusion. |
| 4. Develop multiple evacuation routes | Plan at least two escape routes out of your area to ensure alternatives during a disaster when primary paths may be blocked or unsafe. |
| 5. Organise a neighbourhood support group | Create a neighbourhood plan to share resources and support vulnerable residents, enhancing collective preparedness and response during emergencies. |
1. Family Meeting Point and Communication Plan
When a disaster strikes, your family might be scattered across different locations. You’ll need a solid plan for how you’ll reconnect and communicate with one another during the chaos.
This plan has two critical components: deciding where you’ll meet and establishing how you’ll contact each other when phone lines are jammed or internet is down.
Why This Matters
Earthquakes don’t wait for convenient timing. You could be at work while your children are at school and your partner is running errands across town. Confusion and panic spread quickly when families don’t have a predetermined strategy.
Family communication plans significantly reduce the time it takes to account for everyone and determine your next steps.
Setting Up Your Meeting Points
You need two meeting locations to cover different scenarios.
Near-home meeting point: This is your first choice if evacuation isn’t necessary. Pick a spot outside your house where family members can gather safely, like a neighbour’s front lawn or a nearby park. Make sure everyone knows it well enough to find it in the dark or under stressful conditions.
Out-of-area meeting point: If your neighbourhood becomes inaccessible or you need to evacuate, you’ll need a designated location farther away. Choose a spot in a different part of British Columbia that everyone can identify on a map, such as a relative’s house, a community centre, or a landmark building.
Communication Strategy
Your family should know how to reach each other across several methods.
- Text messaging first: Phone calls often fail during emergencies, but text messages have a better chance of getting through when cell networks are overwhelmed.
- Out-of-area contact person: Designate someone outside your region (perhaps a relative or trusted friend in another province) whom all family members can contact with updates.
- Emergency contact cards: Write down phone numbers, meeting locations, and out-of-area contact details. Store cards in wallets, backpacks, and vehicles so everyone has the information even if their phones die.
- Local alert services: Sign up for alerts from your municipality or regional district so you receive official information about evacuation orders or hazardous conditions.
Your out-of-area contact becomes a communication hub when local lines are down. Everyone calls or texts this person, and they can relay messages between separated family members.
Making It Stick
Plan a family meeting where everyone discusses the strategy together. Walk through different scenarios. “What if you’re at your friend’s house?” “What if I’m at the gym?” Practice using your out-of-area contact and ensure children know how to dial and text it.
Review your plan twice a year. Phone numbers change, jobs change, and children grow old enough to memorise new information.
Pro tip: Keep a laminated card with your meeting points and contact numbers in each child’s backpack and locker at school, so they have this information accessible regardless of where they are when an earthquake strikes.
2. Custom Emergency Supply Kit for Home
A disaster supplies kit is your family’s lifeline when an earthquake cuts off access to stores, water, and electricity. Unlike generic kits, a custom kit addresses your household’s specific needs and vulnerabilities.
You’re building something practical and personalized, not just checking off a generic list. Your kit should reflect who lives in your home and what they actually require to survive and stay comfortable during the critical first days after a major earthquake.
The Foundation Supplies
Every kit starts with non-negotiable essentials that apply to all households.
Water is your first priority. You’ll need one gallon per person per day for at least three days, though longer is better. Calculate this carefully. A family of four needs a minimum of 12 gallons just for drinking and basic hygiene over three days.
Food comes next. Stock non-perishable items that require no cooking or refrigeration, such as canned goods, granola bars, peanut butter, crackers, and dried fruit. Include a manual can opener since electric ones won’t work without power.
You’ll also need a battery-powered or hand crank radio, a flashlight with extra batteries, a first aid kit, whistles for signalling, dust masks, plastic sheeting and duct tape for shelter repairs, and basic tools like a wrench or pliers.
Customizing for Your Family
This is where your kit becomes genuinely useful instead of just adequate.
If you have infants, include formula, diapers, and baby wipes. If someone takes prescription medications, store a 30-day supply in a waterproof container with copies of the prescriptions. Pet owners should pack pet food, water, and carriers.
Consider mobility and health issues. Do you need sturdy shoes for walking through debris? Extra blankets for warmth? Important documents like insurance papers and medical records in waterproof containers? Medications for chronic conditions?
Include items that ease stress during frightening situations. A deck of cards, colouring books for children, or a phone charger for communication purposes can make an enormous difference in morale.
When organizing your emergency supplies, keep items accessible and grouped logically so you can grab what you need quickly.
Essential Items Checklist
- Water (one gallon per person per day for three days minimum)
- Non-perishable food for three to seven days
- Battery-powered or hand crank radio
- Flashlight and extra batteries
- First aid kit
- Whistles for signalling
- Dust masks
- Plastic sheeting and duct tape
- Moist towelettes and personal hygiene items
- Garbage bags
- Wrench or pliers for utility shutoffs
- Manual can opener
- Local maps
- Cell phone with chargers and backup battery
- Prescription medications
- Pet supplies
A customized kit addresses your family’s actual needs, not hypothetical ones. This practical approach increases the likelihood you’ll use it correctly when it matters most.
Storage and Maintenance
Your kit won’t help if you can’t find it or if supplies have expired. Store it in an easily accessible location that all family members know about, such as a bedroom closet or hallway cabinet.
Check your supplies every three months. Rotate water every six months, replace expired medications and food, and verify that batteries still work. This regular maintenance becomes a family routine that keeps preparedness top-of-mind.
Pro tip: Keep a smaller duplicate kit in your vehicle and at work so your family has access to emergency supplies regardless of where an earthquake strikes, not just at home.
3. Earthquake Drill Routine for Children
Children need to understand earthquakes and know exactly what to do when the ground starts shaking. A regular drill routine turns earthquake safety from an abstract concept into muscle memory that could save their lives.
When children practise the same protective actions repeatedly, their bodies respond automatically during actual shaking. They won’t freeze or panic because they’ve already performed these movements dozens of times.
Teaching Children About Earthquakes
Start with age-appropriate language that explains what earthquakes are without creating unnecessary fear. Tell younger children that earthquakes are when the ground shakes, similar to when a heavy truck drives by. Older children can understand that earthquakes occur when the Earth’s crust shifts.
Explain that earthquakes happen suddenly and last only seconds or minutes. This helps children understand why having a plan and practising it matters so much.
Describe the protective action they’ll use. “When the ground shakes, we Drop to our hands and knees, Cover our heads, and Hold On to something sturdy.”
Identifying Safe Spaces at Home
Walk through your home with your children and identify safe spots where they can protect themselves.
The best locations are interior rooms without windows, under sturdy tables, or against interior walls. Avoid windows, mirrors, heavy objects that could fall, and exterior walls.
Show your children these spaces and explain why they’re safer. Make it concrete. “See how this wall doesn’t have windows? That’s why it’s a good place to go.”
Practise moving to these spots quickly. Time yourselves. Make it a game so children learn the locations without feeling anxious.
Drop, Cover, and Hold On
This three-step action is the foundation of earthquake safety. When shaking starts, children should act immediately.
Drop to hands and knees. This position is lower and more stable than standing.
Cover your head and neck. Use your hands to protect these vulnerable areas, or crawl under a sturdy table if one is nearby.
Hold On to whatever you’re under until shaking stops. If you’re under a table, grip the legs. If you’re against a wall, stay in place.
Practise this drop, cover, and hold on sequence at least twice a year with your children. Do it during different activities. While watching television, announce “Earthquake!” and have everyone perform the protective action. Do it in the kitchen, bedroom, and bathroom so children learn to respond wherever they are.
Regular Drill Practice
Consistent practice makes the response automatic.
- Conduct drills at least twice yearly
- Vary the time and location so children respond in different contexts
- Include all family members
- Time the drills and celebrate improvement
- Review what they did well and what could improve
- Keep the tone calm and positive, not frightening
Children who practise earthquake drills regularly show less anxiety about earthquakes because they feel prepared and capable of protecting themselves.
Coordinating with Schools
Your children spend significant time at school, so you need to know what happens there during an earthquake.
Contact your child’s school or daycare and ask about their earthquake procedures. Do they practise drills? What’s their “Drop, Cover, and Hold On” protocol? Where do they shelter? How will they communicate with parents after an earthquake?
Make sure your emergency contact information is current at school so staff can reach you if needed.
Pro tip: Schedule drills for the same date each year, such as the first day of spring, so your family remembers to practise regularly without it becoming an afterthought.
4. Evacuation Route Planning and Practice
An evacuation route is your family’s escape plan when staying home becomes unsafe. A major earthquake could damage roads, collapse bridges, or create hazardous conditions that force you to leave quickly.
Planning multiple routes in advance means you won’t waste critical time deciding which way to go. Practice transforms these paper plans into muscle memory your family can execute under stress.
Why Multiple Routes Matter
A single evacuation route is unreliable. Roads may be blocked by debris, damaged infrastructure, or congestion from other evacuating residents. Bridges could be compromised or closed. Your primary route might become completely impassable within minutes.
Multiple routes give your family options when the first choice isn’t available. You’ll need at least two different directions out of your neighbourhood, ideally three.
Think about your local geography. If you live near the coast, plan routes that move inland and uphill. If you’re near a river valley, plan routes that avoid flood-prone areas. Consider which roads typically experience heavy traffic and avoid those if possible.
Planning Your Routes
Start by mapping your home on a local map. Identify major roads and highways that lead away from your area in different directions.
Walk or drive each route with your family. Note landmarks, street names, and distances. Discuss what you’d see and how long it would take on foot if vehicles aren’t available. Pay attention to bridges, overpasses, and areas that might become impassable.
For a family in coastal British Columbia, evacuation might mean moving away from the ocean after a major earthquake. Know which higher-elevation routes get you away from tsunami risk zones.
Evacuation Destinations
You need specific places you’re heading toward, not just vague directions away from danger.
Identify at least two evacuation destinations outside your neighbourhood. These could be a friend’s or relative’s home in a different area, a hotel in another city, or an official shelter location. Know the full addresses, phone numbers, and any specific directions needed.
If you have pets, confirm in advance that your chosen destinations can accommodate them. Hotels and shelters vary widely in pet policies, so you need this information before an emergency.
Keep a written list of accommodation options and animal shelters along your evacuation routes. Store this information in your emergency kit, vehicle, and wallet so you can reference it if communication systems are down.
Practising Your Evacuation Plan
Theory doesn’t translate to action without practice. Evacuating your home twice yearly with your family identifies problems and builds competence.
During practice, actually grab your emergency kit and travel your planned route. Don’t just talk through it. Walk or drive the route together. Time yourselves. Discuss what you’d see and do at different points.
Practice different scenarios. What if your car doesn’t work? Walk the route on foot. What if roads are blocked? Use your alternate routes. What if you need to shelter in place first before evacuating?
- Schedule drills twice yearly
- Include all family members
- Grab your actual emergency kit
- Travel the full planned routes
- Time the evacuation process
- Discuss obstacles and solutions
- Update routes if circumstances change
Families who practise evacuation routes confidently know where they’re going and what to expect, rather than making desperate decisions during an actual crisis.
Transportation Alternatives
Your car might not be available or functional after an earthquake. Plan how you’d evacuate without it.
Identify walking routes. Calculate how long it would take your family to reach your evacuation destination on foot. Ensure children could manage the distance, or plan intermediate stopping points.
Research public transportation options if they’re available in your area. Buses, trains, or ferries might operate even if roads are damaged. Know where key transit stations are located along your evacuation routes.
Pro tip: Print maps of your evacuation routes and store them in your vehicle, emergency kit, and home office so you have access to directions even if GPS and cell service are unavailable after an earthquake.
5. Important Documents Backup Strategy
Important documents prove who you are and what you own when systems fail. After an earthquake destroys neighbourhoods and overwhelms institutions, you’ll need evidence of your identity, home ownership, insurance coverage, and medical history.
Without backups, replacing these documents takes months or years. A solid backup strategy ensures you have access to critical information even if your home is damaged or destroyed.
What Documents Need Backing Up
Start by identifying which documents actually matter in a disaster. You need originals or certified copies to access insurance claims, prove property ownership, obtain medical care, or establish identity.
Critical documents include identification (passports, driver’s licences, birth certificates), home ownership and mortgage paperwork, property insurance policies, auto insurance documents, health insurance cards, medical records, prescription lists, wills and power of attorney documents, and financial account information.
Pet owners should also back up vaccination records and microchip information. If you need to evacuate quickly with pets, having proof of ownership and vaccination status could be essential.
Physical Storage Strategy
Keep original documents in a fireproof and waterproof container stored at home. A certified safe or fireproof filing cabinet protects against common disaster scenarios.
Consider adding a safe deposit box at your bank for duplicate originals. This creates a secondary location outside your home, so if your house becomes inaccessible, you still have access through the bank.
Organise your physical copies logically so you can find and grab them quickly during an evacuation. Use clearly labelled folders for different categories like insurance, property, medical, and financial.
Digital Backup Strategy
Digital copies are accessible even if your physical home is destroyed. Creating digital document backups provides redundancy and accessibility in emergencies.
Scan important documents and store digital copies in secure cloud storage such as encrypted cloud services. Use a password manager to store login credentials separately from the documents themselves.
Also maintain an external hard drive stored in a separate location, such as at a trusted friend’s or relative’s home. This creates a backup if cloud services are temporarily unavailable.
- Scan all critical documents
- Use encrypted cloud storage
- Store login credentials securely
- Keep external hard drive backups
- Update digital copies annually
- Test access to files before an emergency
Quick Access Planning
If you need to evacuate, you won’t have time to gather documents scattered throughout your home. Prepare a grab-and-go binder or folder containing copies of your most essential documents.
Include the originals or certified copies of identification, insurance policies, and property ownership papers. Keep this folder in an easily accessible location, ideally near your emergency kit.
Make a master list of all your documents and their locations. Store this list in your emergency kit and give a copy to your out-of-area contact person so someone can help you replace documents if needed.
When disaster strikes, you won’t have electricity or internet to retrieve documents from damaged homes. Digital and physical backups ensure you can prove ownership and identity when you need it most.
Keeping Everything Current
Documents change. You acquire new insurance, update medical information, or refinance mortgages. Outdated backups could create problems when you need them.
Review and update your backups annually. When you renew insurance policies, add the new documents to your backups. If you change banks or financial institutions, update that information.
Pro tip: Store a laminated card in your wallet containing the location of your physical safe, cloud storage login information, and your out-of-area contact person’s phone number so you can access your document backups from anywhere after an earthquake.
6. Neighbourhood Support and Resource Sharing Plan
Your neighbourhood is your extended family during a disaster. When a major earthquake hits, professional responders will be overwhelmed, and neighbours become the first line of help for each other.
A neighbourhood support and resource sharing plan transforms individual preparedness into collective resilience. Organized neighbourhoods recover faster, support vulnerable residents more effectively, and create systems that function when official infrastructure fails.
Why Neighbourhood Planning Matters
Individual family plans are important, but they’re incomplete. A family might have food and water but lack first aid supplies. Another household has medical expertise but no shelter materials. A neighbourhood with a shared resource plan multiplies everyone’s capability.
Community preparedness also ensures that vulnerable residents get support. Elderly neighbours, people with disabilities, and families with limited resources might not have adequate emergency supplies on their own. A coordinated neighbourhood identifies these gaps and fills them collectively.
Building Your Neighbourhood Plan
Start small. You don’t need to organize an entire neighbourhood immediately. Begin with your block or a few nearby streets, perhaps five to ten households.
Identify a neighbourhood leader or coordinator. This person organizes meetings, maintains contact information, and helps coordinate response activities. It doesn’t need to be an official role; it’s simply someone willing to take initiative.
Host a neighbourhood meeting and invite residents to discuss earthquake preparedness. Keep it simple and non-threatening. You’re not asking for major commitments, just building awareness and connection.
Surveying Resources and Needs
Create a simple inventory of what households have available. Who has medical training? Which households have generators or water storage? Who has tools, rope, or heavy equipment?
Also identify residents who may need extra help. Are there elderly neighbours living alone? Families with young children? People with medical conditions requiring special supplies?
Community preparedness planning works best when neighbours understand each other’s capabilities and vulnerabilities.
Creating Support Teams
Divide your neighbourhood into manageable teams responsible for specific streets or blocks. Each team has a leader and includes several households working together.
Define what support means in your context. Will teams do welfare checks on neighbours? Coordinate resource sharing? Help with debris removal? Plan rescue assistance for people trapped or injured?
Assign specific responsibilities before an earthquake occurs. Who will shut off gas lines if needed? Who has first aid training? Who can operate a chainsaw if trees block roads?
- Identify neighbourhood leaders
- Map team boundaries
- Inventory resources and skills
- Identify vulnerable residents
- Define support activities
- Establish communication methods
- Schedule regular meetings
Communication and Coordination
Establish how your neighbourhood will communicate when phone lines are down. Create a phone tree where one person calls several others, who each call several more.
Designate a meeting place where residents can gather if homes become unsafe. This might be a community centre, park, or school. Agree in advance that if an earthquake occurs and communication fails, everyone will check in at this location at a specific time.
Neighbourhoods that meet regularly and prepare together respond faster and more effectively after disasters because residents already trust each other and understand their roles.
Regular Practice and Updates
Schedule neighbourhood meetings twice yearly to review plans, welcome new residents, and update contact information. Use one meeting for education and planning discussion, another for a simple walking tour to review support resources and vulnerable residents.
Practice communication methods occasionally. Have a “test” welfare check where team leaders reach out to their group using your established communication method.
Update your neighbourhood resource inventory annually as households change and new families move in.
Pro tip: Create a neighbourhood preparedness WhatsApp group, email list, or other communication platform that can supplement phone-tree communication and help coordinate information sharing after an earthquake when systems partially recover.
Below is a comprehensive table summarizing the preparedness measures and strategies discussed in the article concerning earthquake safety and family emergency planning.
| Topic | Description | Benefits |
|---|---|---|
| Family Meeting Point and Communication Plan | Establish local and remote meeting points; designate methods like text messaging and out-of-area contacts for communication. | Ensures immediate reunion and effective communication during emergencies. |
| Custom Emergency Supply Kit | Compile essential and family-specific items such as water, food, medications, pet supplies, and vital documents. | Provides the necessary resources for survival and reducing hardship post-disaster. |
| Earthquake Drill Routine for Children | Teach children about earthquakes, safe locations, and the “Drop, Cover, Hold On” method through regular drills. | Improves children’s confidence and automatic responses to ground shaking. |
| Evacuation Route Planning and Practice | Prepare multiple routes and destinations with regularly practised drills. | Enables swift and safe evacuation during emergencies. |
| Important Documents Backup Strategy | Store physical and digital backups of critical documents such as IDs and insurance forms securely. | Facilitates recovery and claims after property damage. |
| Neighbourhood Support and Resource Sharing Plan | Build community teams for shared resources, welfare checks, and coordinated efforts. | Enhances collective resilience and supports vulnerable neighbours. |
Prepare Your BC Home for the Big One with a Complete Earthquake Kit
The disaster plans outlined in “6 Examples of Disaster Plans for BC Homeowners” highlight the importance of having a practical and well-thought-out emergency strategy. From establishing family meeting points and communication plans to evacuation route practice and protecting vital documents, every step addresses real challenges faced during a major earthquake in Coastal British Columbia. The article’s focus on customised supplies and quick access emphasises that preparedness is not simply about having items, but about having the right items your family will rely on when it matters most.
Do not wait until uncertainty strikes to gather your essential supplies. Explore our range of Gov BC Earthquake Kits and Deluxe Earthquake Kits designed especially for the needs of British Columbians. These kits are crafted to help you address the key pain points described in the article including water, food, medical items and communication tools. By acting now, you give your family the confidence and security to face any emergency with calm and readiness. Visit https://earthquakekit.biz today and take the crucial step toward making your home and loved ones safer.
Frequently Asked Questions
What is a family meeting point, and why is it important in a disaster plan?
A family meeting point is a designated location where family members can gather during a disaster when communication may be disrupted. Establish clear, accessible spots both near home and further away to help your family reconnect quickly.
How can I customize my emergency supply kit for my household?
Customizing your emergency supply kit means including items specific to your family’s needs, such as medications, baby supplies, or pet food. Evaluate your household’s requirements and include at least three to five essential items that address any unique circumstances.
What actions should I take to teach my children about earthquake safety?
To teach your children about earthquake safety, consistently practise the
Recommended
- BC Preparedness – EarthquakeKit.ca
- 6 Practical Examples of Family Emergency Plans for BC Moms – EarthquakeKit.ca
- 6 Essential Family Earthquake Plan Steps for BC Parents – EarthquakeKit.ca
- Great Quakes - The 1996 Biak Earthquake – EarthquakeKit.ca
- Cozee Bay - 10 Essential Sustainable Living Tips for Every Homeowner
- 7 Must-Know Family Camping Safety Checklist Tips – Hazli Collection